Adding drones to your collection of camera gear can give you a leg up on the competition as a photographer. The skies the limit when it comes to the types of photos you can add to your portfolio — literally.
With a drone, real estate photographers can provide sweeping views of entire real estate. Wedding photographers can give videos a unique touch (and wedding guests love seeing drones in the area). Architecture and landscape photographers can unlock an entirely new angle.
But before you add a drone to your gear bag, there are some legal barriers you need to know about and some regulatory hurdles you should be aware of. Before using your drone to take photos, here are five things you need to do:
1. Register with the FAA:
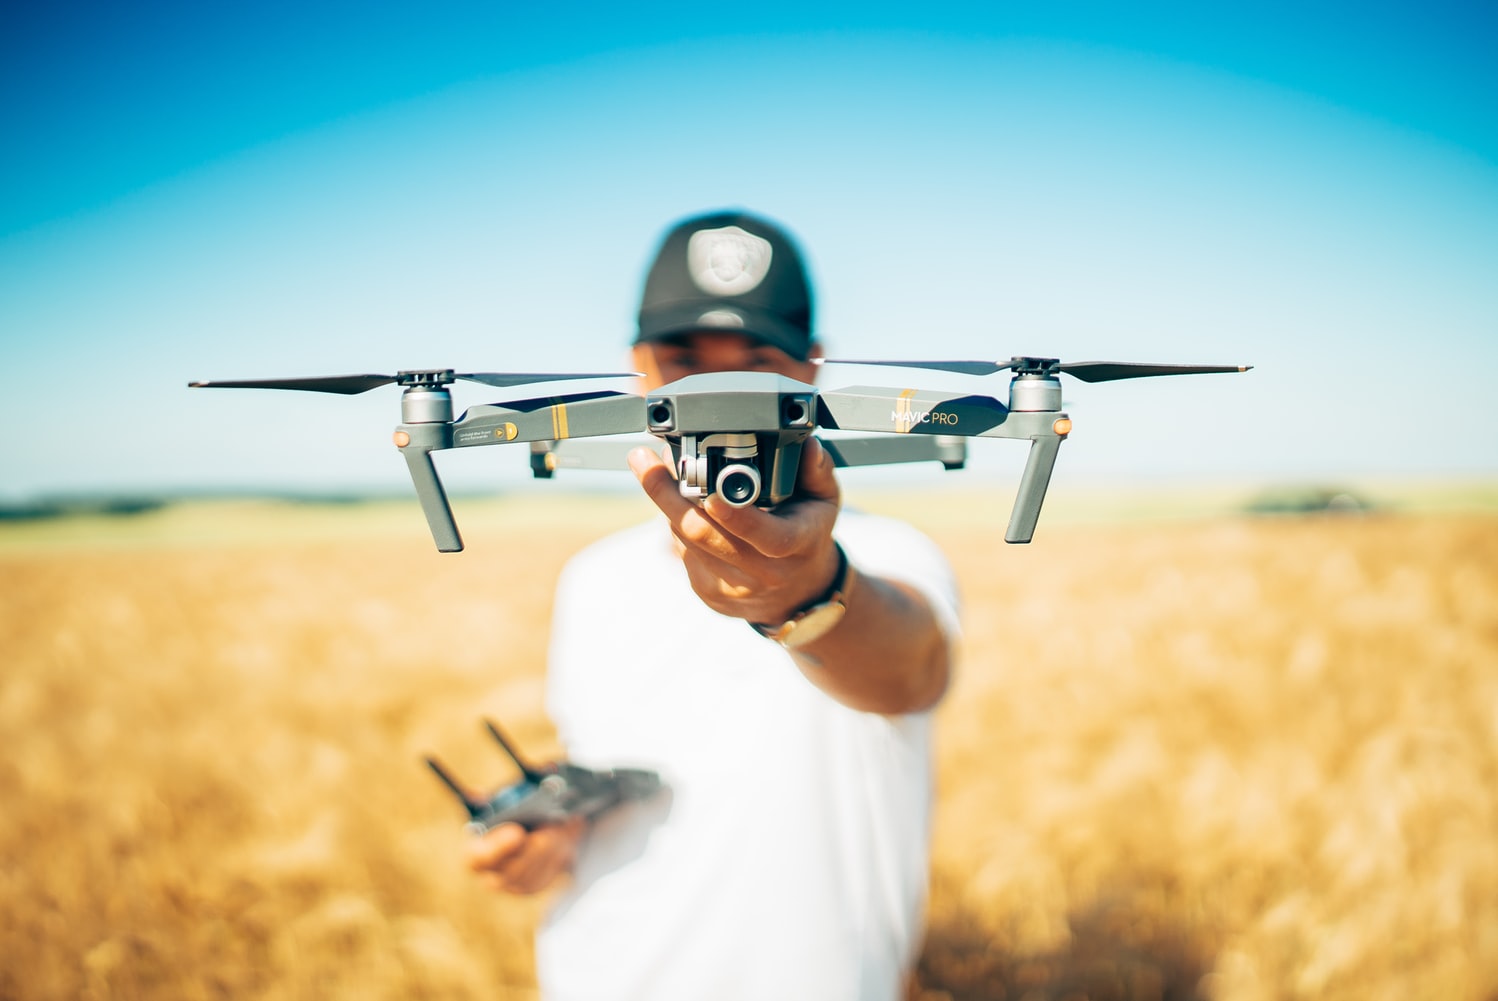
If your drone weighs between 0.55 lbs and 55 lbs (most photography drones out there fall in this range, including the DJI Inspire, Yuneec Typhoon and DJI Mavic Pro), you need to register yourself as a drone operator with the FAA.
To register, visit the FAA’s drone registration website, create an account (you’ll enter your address, phone number and email). There’s a $5 registration fee and — once paid — you’ll receive a registration number unique to you, which you’ll have to write anywhere on your drone. (Sharpie on a piece of masking tape works well in case you need to remove it later, should you decide to sell or give away your drone.
2. Get a drone license:
If you’re flying for commercial, rather than recreational, purposes (i.e. you’re making money off your drone photos), then you need a drone pilot license. It’s called a Remote Pilot Certificate, and you get it by passing a written test called the Aeronautical Knowledge Test (it’s commonly referred to as the Part 107 test).
The test quizzes more than just common sense, so you’ll have to put in at least a couple of study hours in order to pass. The best way to study is by taking a Part 107 online study course like Drone Pilot Ground School or Drone Launch Academy.
3. Making sure you can legally fly in your area:
If you’re flying drones in anything other than Class G airspace, you’ll need FAA permission. Luckily, most airspace out there is Class G airspace, but you should be sure (as it’s illegal to fly in Class B or C airspace without authorization). If there’s an airport within five miles of you, odds are, you’re not in Class G airspace.
The easiest way to know if your drone flight is legal is by checking the FAA’s official Know Before You Fly website. Type in the address of where you intend to fly, and you’ll get a yay or nay.
DJI’s drones also automatically tell you when you power up your drone whether you’re clear to fly in a particular area.
Beyond FAA rules, be aware that some cities, parks, universities and other private property might impose their own rules around taking off or landing drones on their property. In fact, it’s illegal to take off or land drones inside of a National Park.
4. Practice your flying skills:
If you’re new to flying drones, start with a cheap, toy drone. Any $30 toy drone will do. In fact, the more affordable, the better. Affordable, toy drones typically tend to be difficult to fly. Expensive drones like DJI’s drones have a GPS lock, are able to hover in place and have features like auto takeoff and landing. If you master a toy drone, then flying a “real” drone will be a breeze.
Plus, you’d way rather accidentally crash $30 into the pool vs. $300 or even $3,000. If you’re planning to take your drone on trips and do some landscape photography around the world, then you’ll want to find the best travel drone for you.
Also Read: How To Take Great Looking Vacation Photos
5. Get the right gear:
Great photography-focused drones can cost anywhere from $300 to upwards of $3,000. In general, the best drones for aerial photographers have a camera built-in and are ready to fly out of the box.
As far as specs, make sure the camera quality fits what you need. But there’s also some drone-specific specs you need to be aware of.
Only purchase a drone if it has a gimbal. Gimbals are crucial to keeping your camera steady. Without it, every time movement looks incredibly jarring, and your video will appear jello-like or shaky.
As far as battery life, 20-30 minutes is the standard. If a drone promises significantly more than that, then it’s either an ultra-expensive enterprise drone — or a scam. Rather than focus on battery life, just buy a second battery.
Happy flying!
Also Read:
Drone Photography – How to Use Drones for Aerial Photography
Don’t Fly Through Fireworks And 16 Other Ways To Avoid Crashing Your Drone