Real estate photography is emerging as a lucrative niche for both amateur and professional photographers. The reason is simple. The pandemic has changed the way we buy and sell properties.
Today, prospects might want to take virtual tours and check out the images of listed properties. We have a hunch that things will stay this way for a while. It’s economical and helps realtors and prospects cut down on downtime.
This guide will help you sharpen your skills, choose the right equipment, and improve the business.
Sharpen your skills
Plan for the shoot
Schedule a date with the realtor or the homeowner when you can take a tour of the property. When you are on-site, prepare the list of what to do to make the property picture perfect.
Perhaps they need to declutter some of the rooms or clear the refrigerator. Maybe they need to clean mirrors and mow the lawn.
Let the property speak to you
As you walk around the property, let it speak to you. Look for the highlights and the features that would entice prospects. See how natural light accentuates the home and take notes. Let the property guide you on how to photograph it. Don’t muzzle your creativity with cliche patterns. Infuse it with character and bring out its uniqueness behind your lens.
Plan for both interior and exterior shots
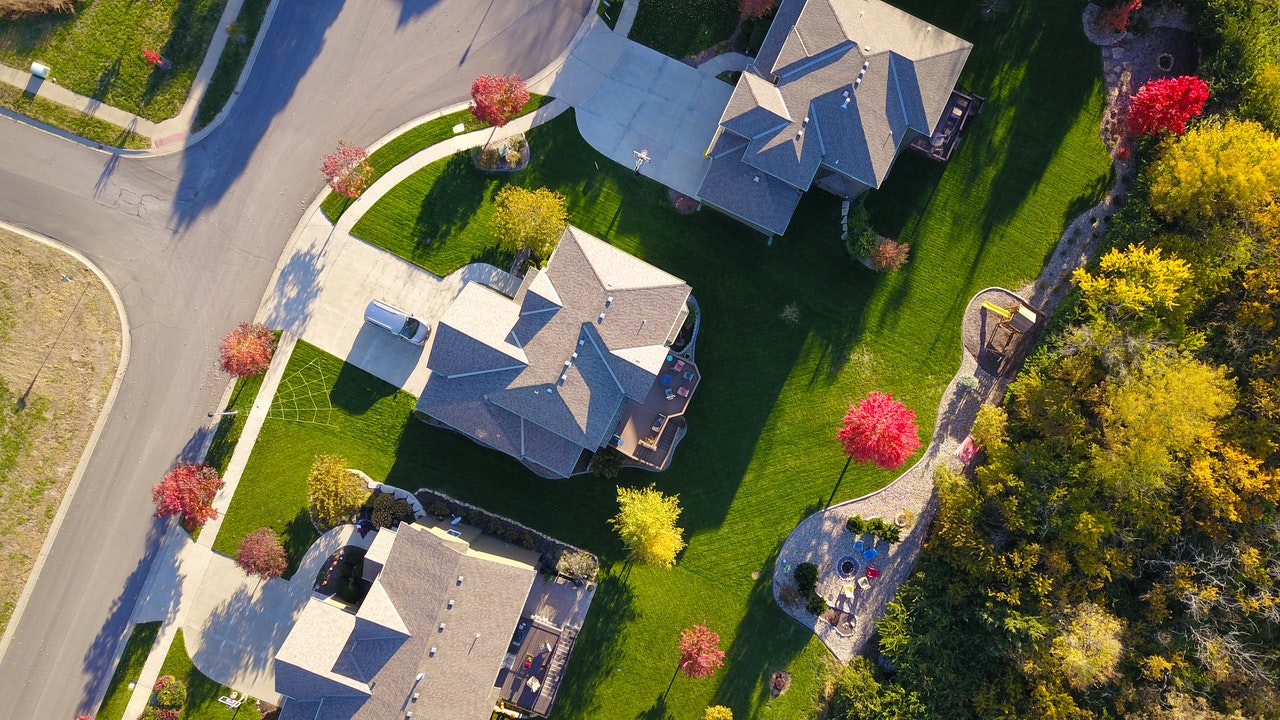
As you listen to the property, take notes of how you would like the exterior photos to look. Prospects favor images of the exterior first. So take notes of features like pools, patios, and gardens as well as the facade. Remember to plan to take pictures from front to back.
As for the interiors, speak with the client and agree on the most photogenic rooms. Plan to capture at least two photos of each room. If you can single out a particular room that is dazzling, plan to go out on a limb and take extra shots of it.
Improve your technique
Explore all the angles
Explore all the angles of each room. Don’t settle for one-dimensional images taken from the corner. Come up with a story that your shots will tell. The unique elements of the home will help you. The photoshoot is like an unfolding drama, and you are the storyteller.
Shooting exterior photos
As you explore the angles, find the best spots to shoot from the corners, not directly in front. This way, your pictures will have depth.
Highlight features like pools, driveways, and avoid putting too much emphasis on the foreground. Remember to avoid features like air conditioning units or trash cans. People and cars should also not appear in the composition.
Use natural lighting. But avoid shooting in harsh sunlight. If the photoshoot day is not cloudy, plan to take the exterior shots at dusk.
The rule to follow in property photography is: exterior shots make the best first impression images. So make them count.
Shooting the interiors
You may not have much room to maneuver your camera when taking interior shots as you did on the exteriors. Lighting and positioning could also be a challenge.
Find an angle where you can capture the best perspective of the room and highlight space and depth. If the light coming in from the window is not sufficient, add some artificial lights and accentuate the features.
Keep the camera on a tripod to maintain stability. The camera height should be about 5.5 feet throughout all interiors.
Choose the right equipment
Camera
Go for a full-frame camera to cover a wide area and produce top-quality images.
The sensor type, rather than the megapixels, will tell you more about the quality of images to expect. A large size sensor will give you high-quality property images even under unfavorable lighting conditions.
Lens
A wide-angle lens is the first choice for property photographers. It gives a sense of depth, accentuates the space, and reveals depth and detail.
If you would like to polish your exterior images, use tilt-shift lenses. They can tilt, shift or even rotate to give high-quality images from impossible angles.
Tripod
Don’t forget to pack your tripod and charged camera batteries. Keep the tripod at a consistent height to maintain a horizontal plane and clear vertical lines.
Take care of business
The basics of establishing a photography business are simple. Here are the top items you should consider:
Contracts
Have on hand a comprehensive contract, ready to give the client once you agree. The agreement should be clear about responsibilities and who should do them, the areas to shoot on the exterior, and the list of rooms to shoot.
Pricing
To ensure that you don’t overcharge or undercut yourself, look at what your peers charge for similar homes.
Then consider the time and resources used to:
- Prepare for the shoot
- Do the actual photo shooting
- Process and edit the photos
- Handle the administration
If you invested in any special equipment for the shoot (like renting special lighting), remember to factor it in. Then do your mark-up.
You could give clients indicative rates to guide them on what to expect. But make sure that they understand the rates could change.
Deliver a superior service
Like any other business, customer experience is what matters the most. From the initial interaction to the final showcase, even your digital presence plays a key role—using the best website builder for real estate ensures your photos and property details are featured professionally, enhancing credibility and conversions.
Realtors want high-quality images that are both web-ready and of high resolution. They should be ready to print in specific sizes and different formats. Also, there should be proper editing of real estate photos.
To conclude, this guide will help you be thorough on the job and deliver excellent property photographs. Look for ways to improve your productivity as a photographer. Remember, there are more homeowners or realtors with prospects to impress.