In today’s digital age, food photography is a growing trend. As a beginner photographer, you may be looking for ways to improve your skills in this aspect of photography. Here are some tips on how to photograph food to make it look tasty and mouth-watering.
What Is Food Photography?
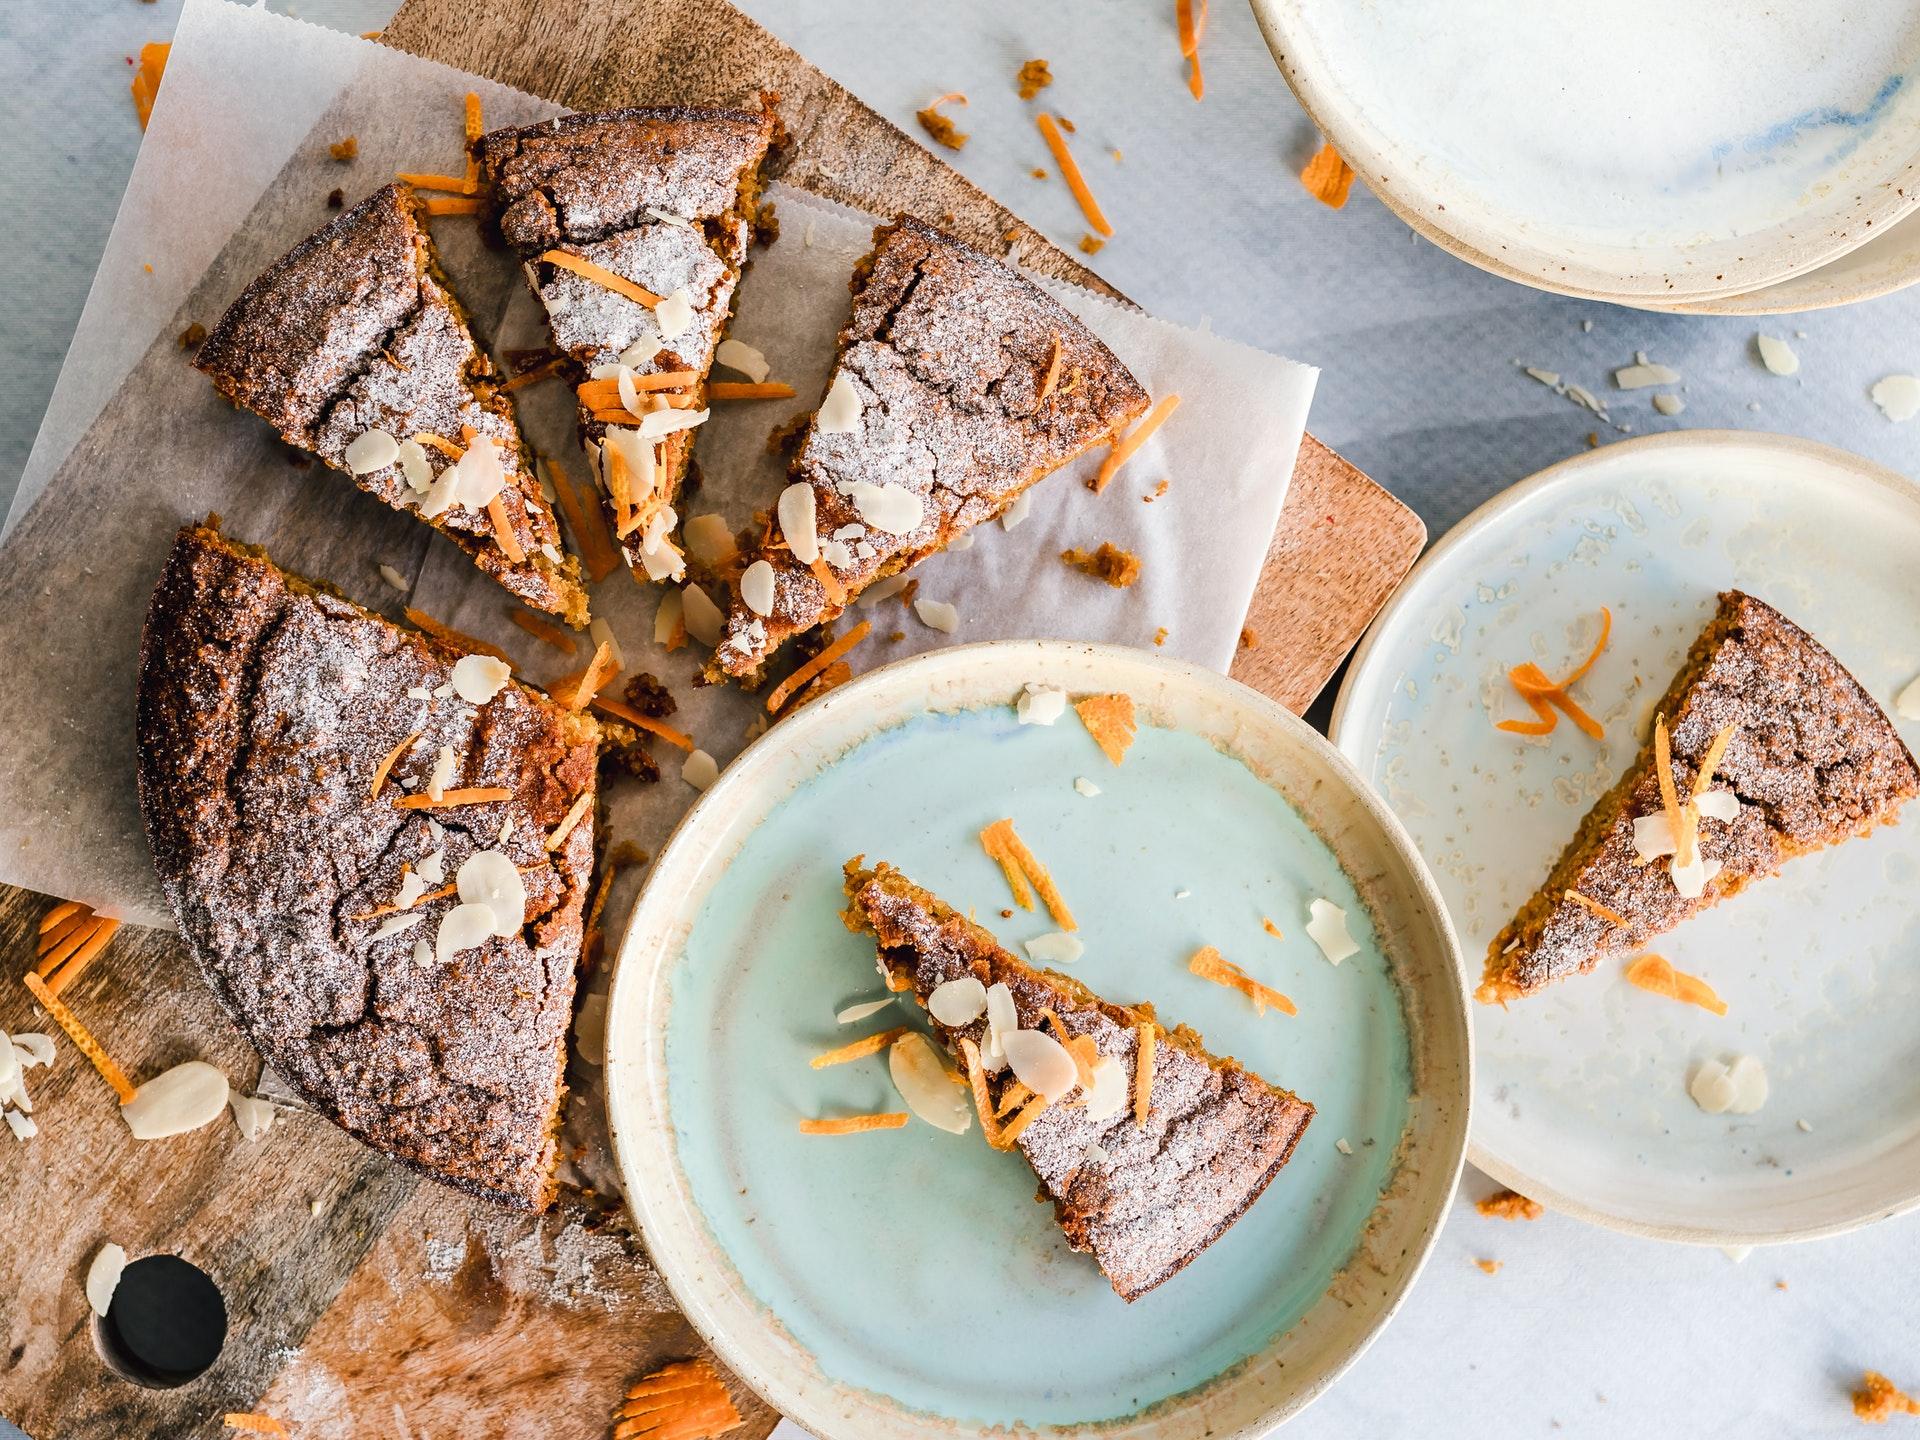
Food photography is a commercial genre of still life photography. Its goal is to create attractive, appetizing photos used in advertising, restaurant menus, and cookbooks.
Food photos have become so popular recently, and creating this kind of work requires skillful hands with steady nerves when capturing porcelain dishes filled with delicious food. The process involves many different people – a person who makes and styles the dishes, a photographer, and a props stylist. First, the food stylist gives it a desirable appearance, then the prop person ensures that the food is arranged nicely, and finally, the photographer takes pictures of the dish.
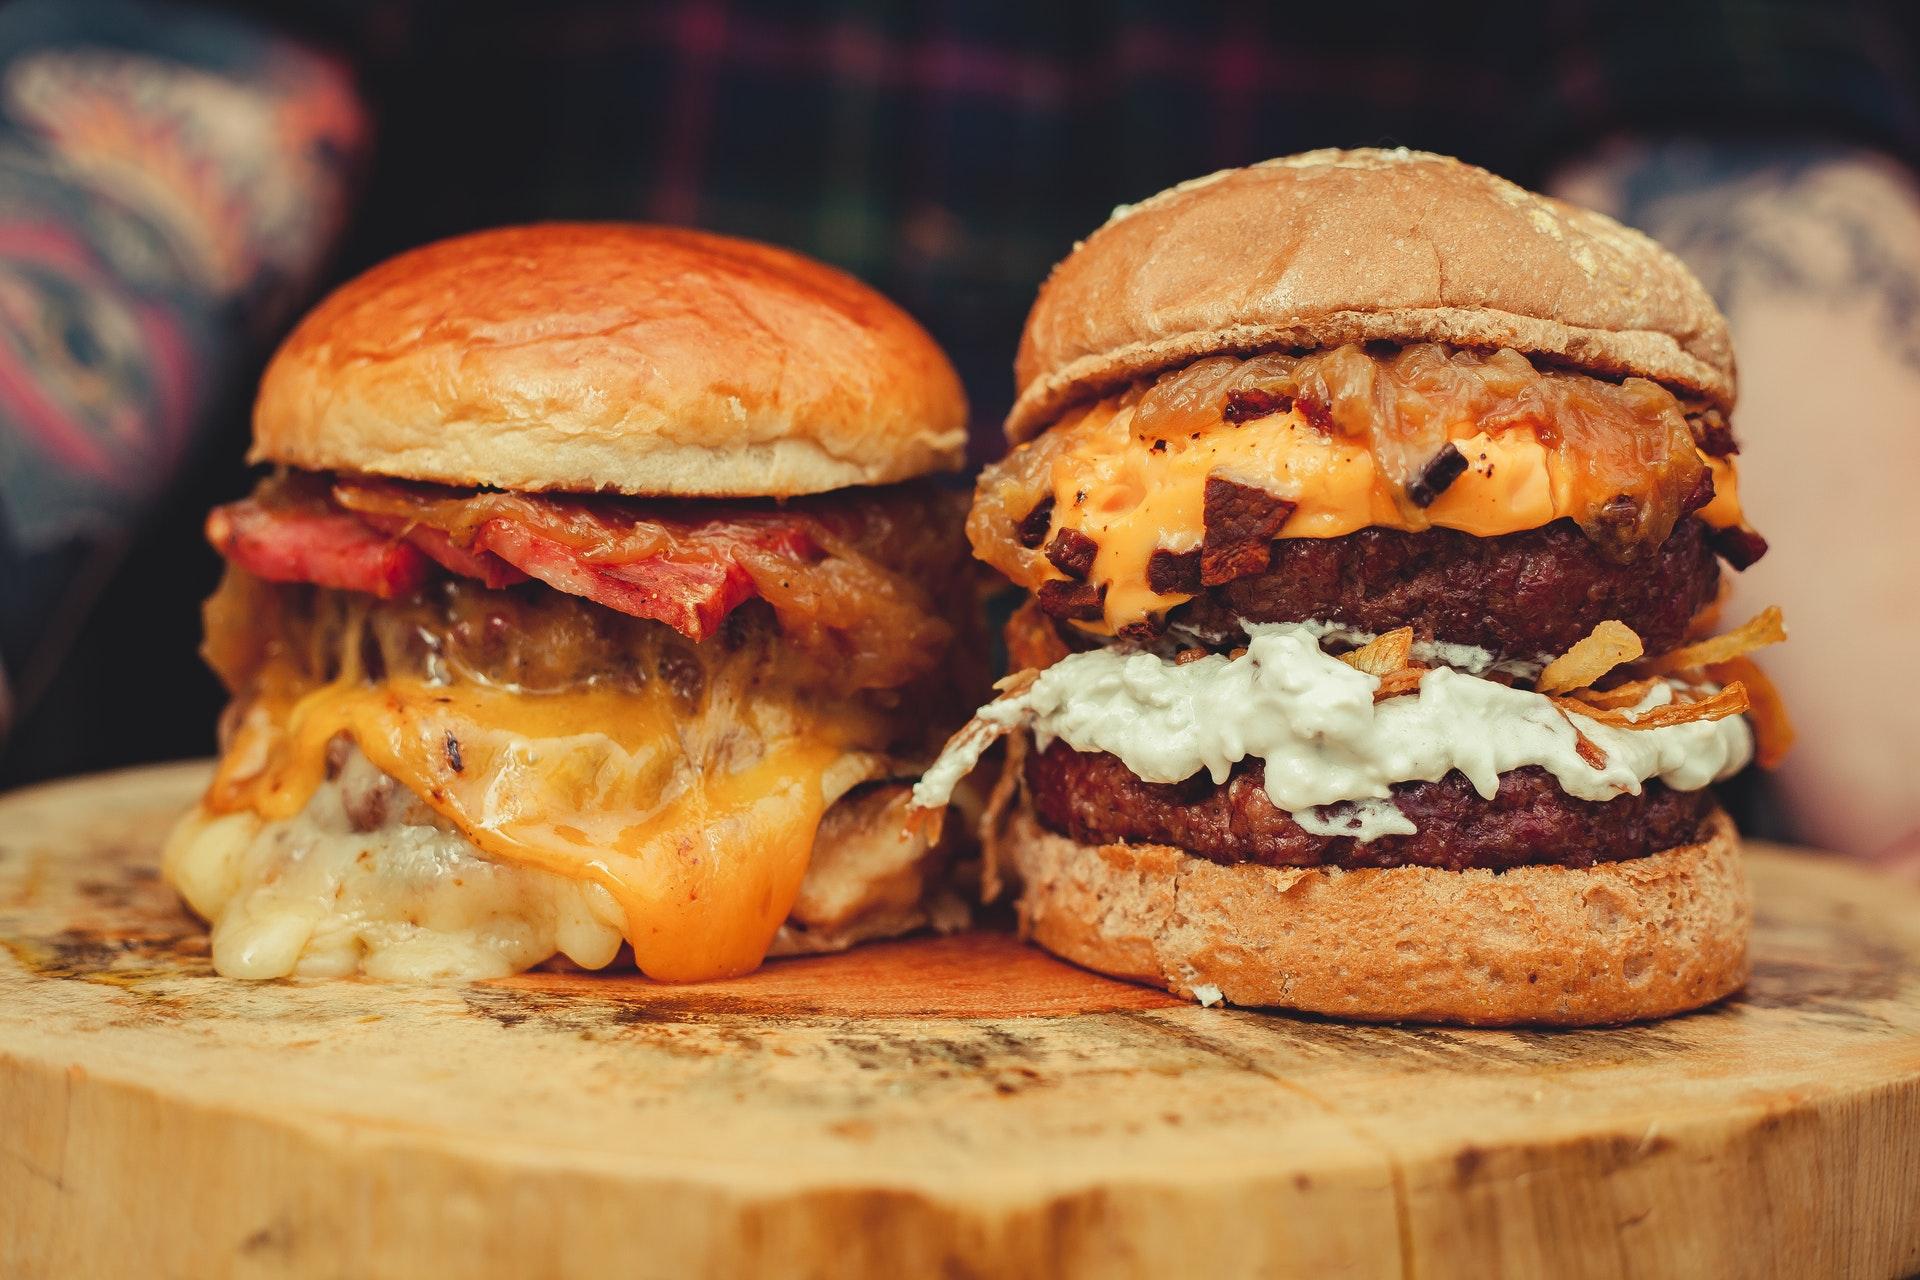
The food photography process is long and tedious, involving many details such as timing, lighting, composition, and post-processing enhancements. But with all these combined, you get one complete product – photos that will make the dishes look yummy.
There are many reasons why food photography is an important marketing tool for bloggers, restaurants, and other businesses. It can be used for marketing purposes in many ways, from product shots on food packaging to food presentations at restaurants or blog entries about food businesses.
- When people look for a restaurant, they surf for food photos before deciding to eat there. Having appealing food photography will score you some bonus points and new customers.
- When bloggers write articles about restaurants and dishes, food photos are a must. Photos add visual appeal to blogs and help the blogger describe food better.
Whether you’re taking photos for your blog, making a slideshow for a restaurant, or composing a cafe menu, it’s important to have some tricks up your sleeve. Also, you can elevate the presentation of your menu offerings using this menu maker, ensuring they stand out and entice your customers. In this article, we describe how to use food composition and styling to your advantage, what equipment you should use, and how to add extra flavor to the images when editing them.
How to Photograph Food: Basic Necessities
Food photography is more than just snapping some food onto a plate and taking a picture. The perfect photo requires knowing how light affects the dish, what kind of camera to use, and which lighting conditions are best for each type of food.
Equipment
Cameras & Lenses
First, you need to choose a camera. If you are not a professional photographer, it is best to go with an entry-level DSLR camera like Canon 80D without too many special features. You can also opt for an iPhone or Android-based phone with additional lenses if your budget allows for them. For more experienced photographers, Canon 5D will be a more suitable option.
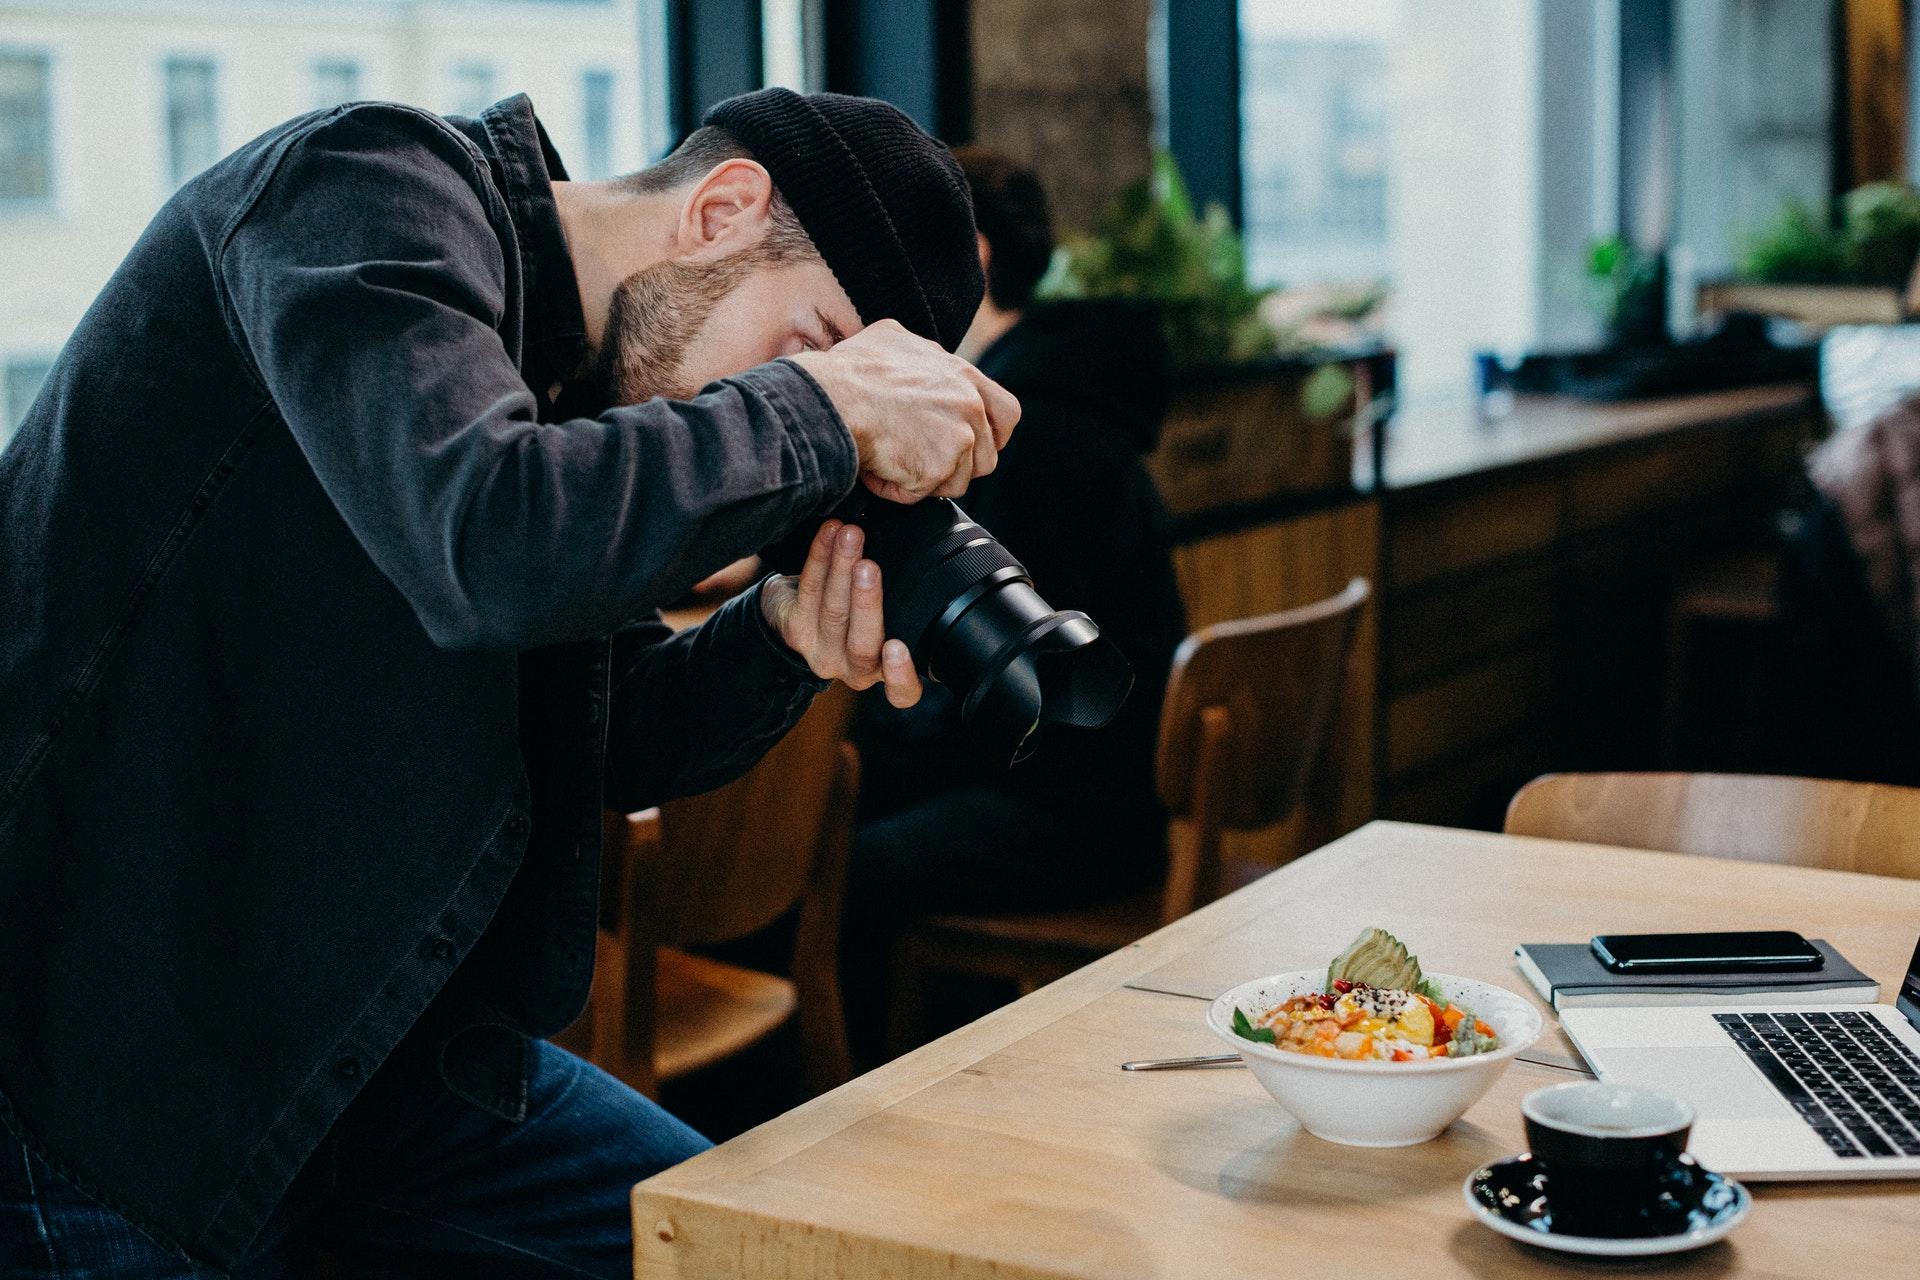
Lenses are one of the most important camera features when it comes to food photography. For setups involving a dark background, use a macro lens for optimum focusing on small objects like sugar cubes. If you are using natural light (rather than studio lighting), you will need wide-angle lenses to accommodate a wider depth of field and more room to work.
Lighting
The lighting kit is another essential part of the setup. Most lighting kits consist of a lighting stand, reflectors, and bounce cards that cover the basics. If you are on a budget, light bulbs with adjustable necks or clamp lights will help you produce professional-looking food photos without breaking the bank.
Taking photos of food in natural lighting? Then consider getting yourself a reflector to bounce light onto your subject. White cardboard will do the trick just fine, too. Alternatively, you can invest more money in higher-quality reflectors if desired.
Stabilization Devices
There are a few different tools that can help keep your camera steady. The most common are tripods and gimbals with different ways of image stabilization.
A tripod is a three-legged device for holding your camera still while you take pictures. Tripods come in many price ranges and sizes. The larger, sturdier ones have more options for adjusting them, which can be helpful if you’re trying to get set up on uneven ground. A gimbal attaches to a camera while also allowing adjustment of angles and directions without readjusting the device itself.
Food Photography Props & Decorations
Taking food photos can be tricky. Having the right equipment is not always enough to get remarkable results. You need to pay extra attention to decorations and tableware you use for your shots.
Dishes
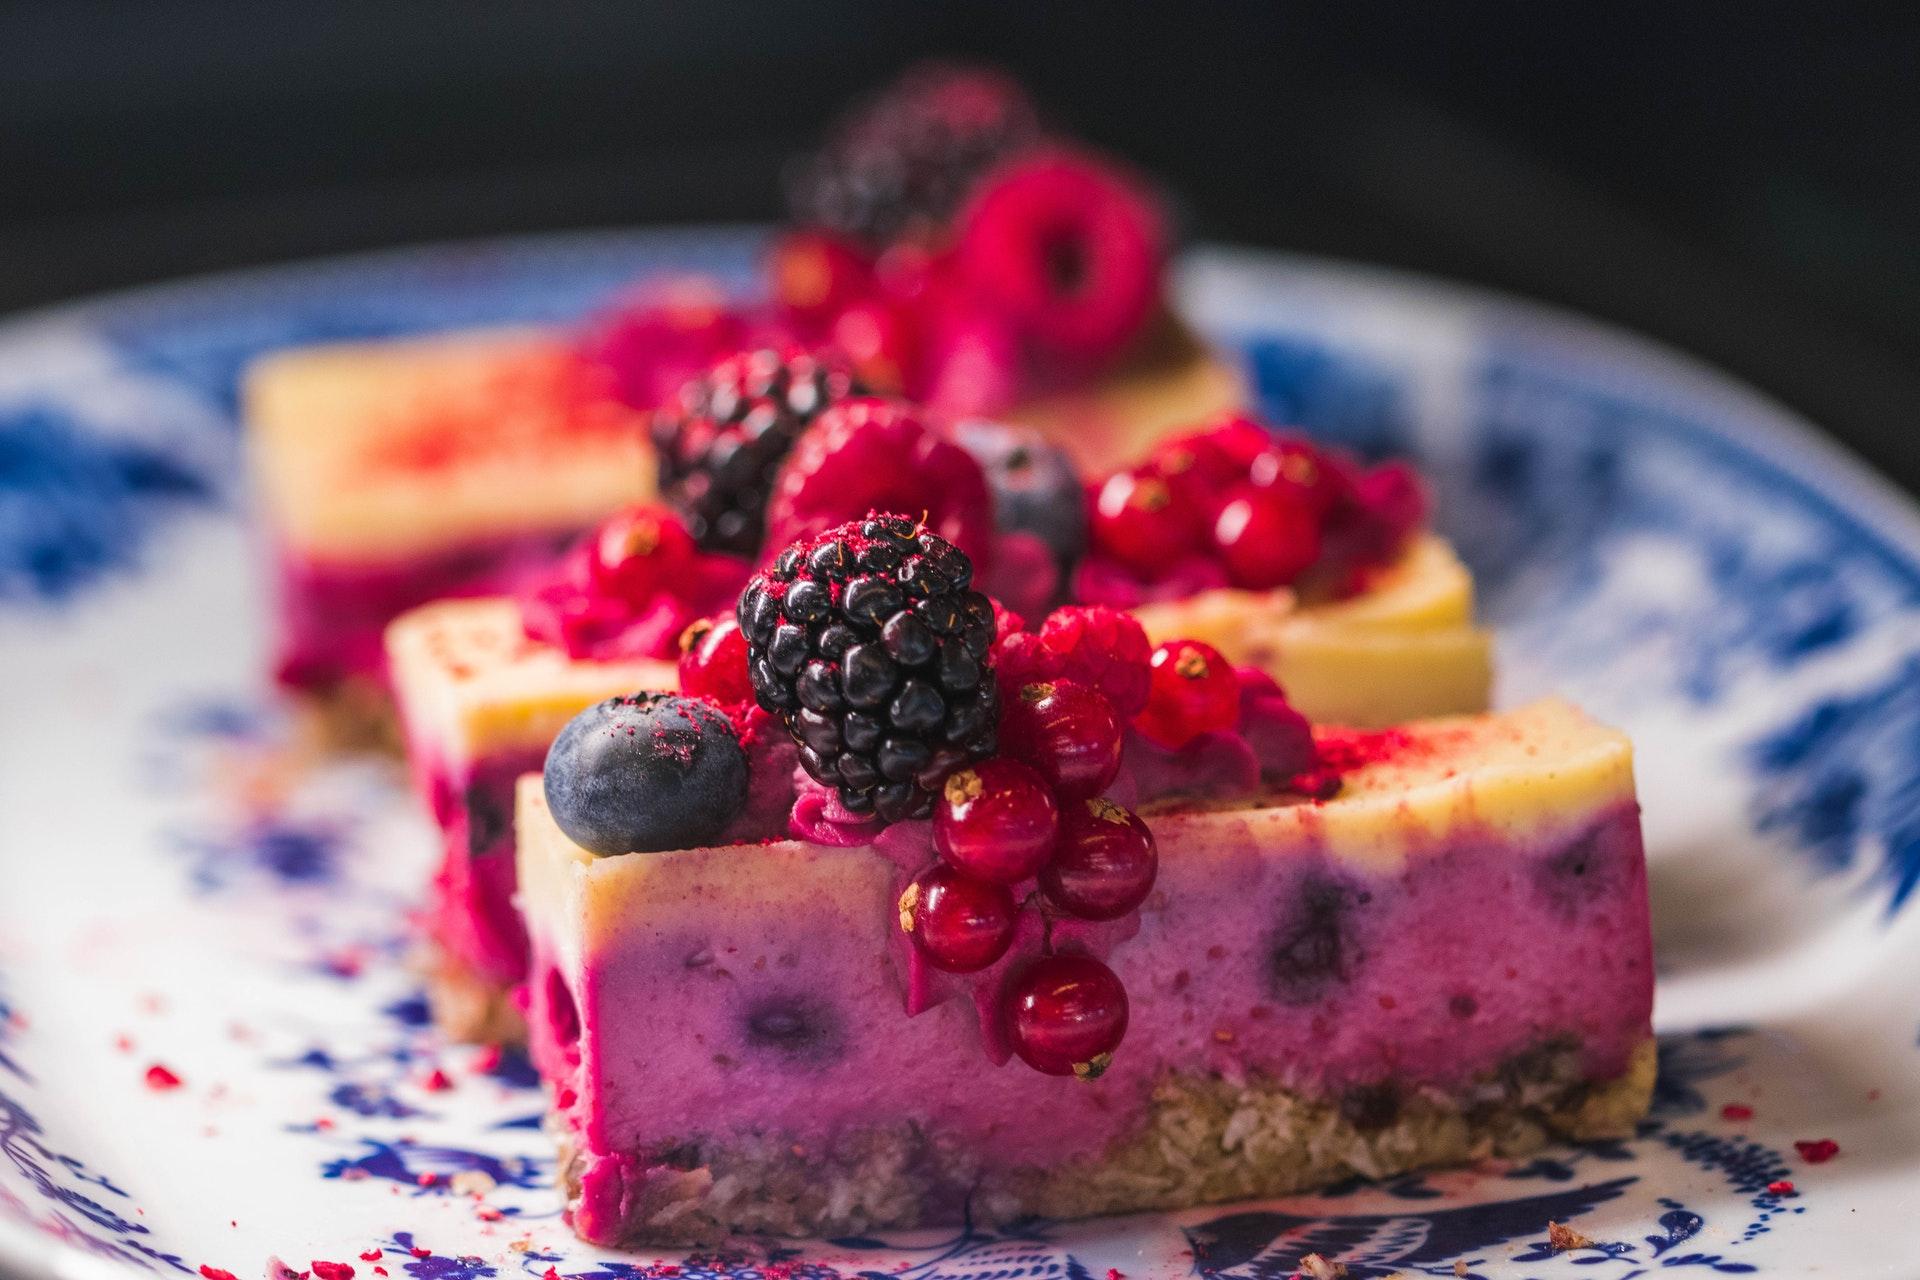
Food should be the centerpiece of the photo, especially if you’re taking pictures for menus or food delivery apps. The dish should look esthetically pleasing and make people want to order and eat it. When photographing food like sushi or spaghetti, try using chopsticks to add another element of interest to your photo. Make sure there are no dirty dishes or litter on the table; make it look nice and clean with only the dish you’re shooting visible in the photo.
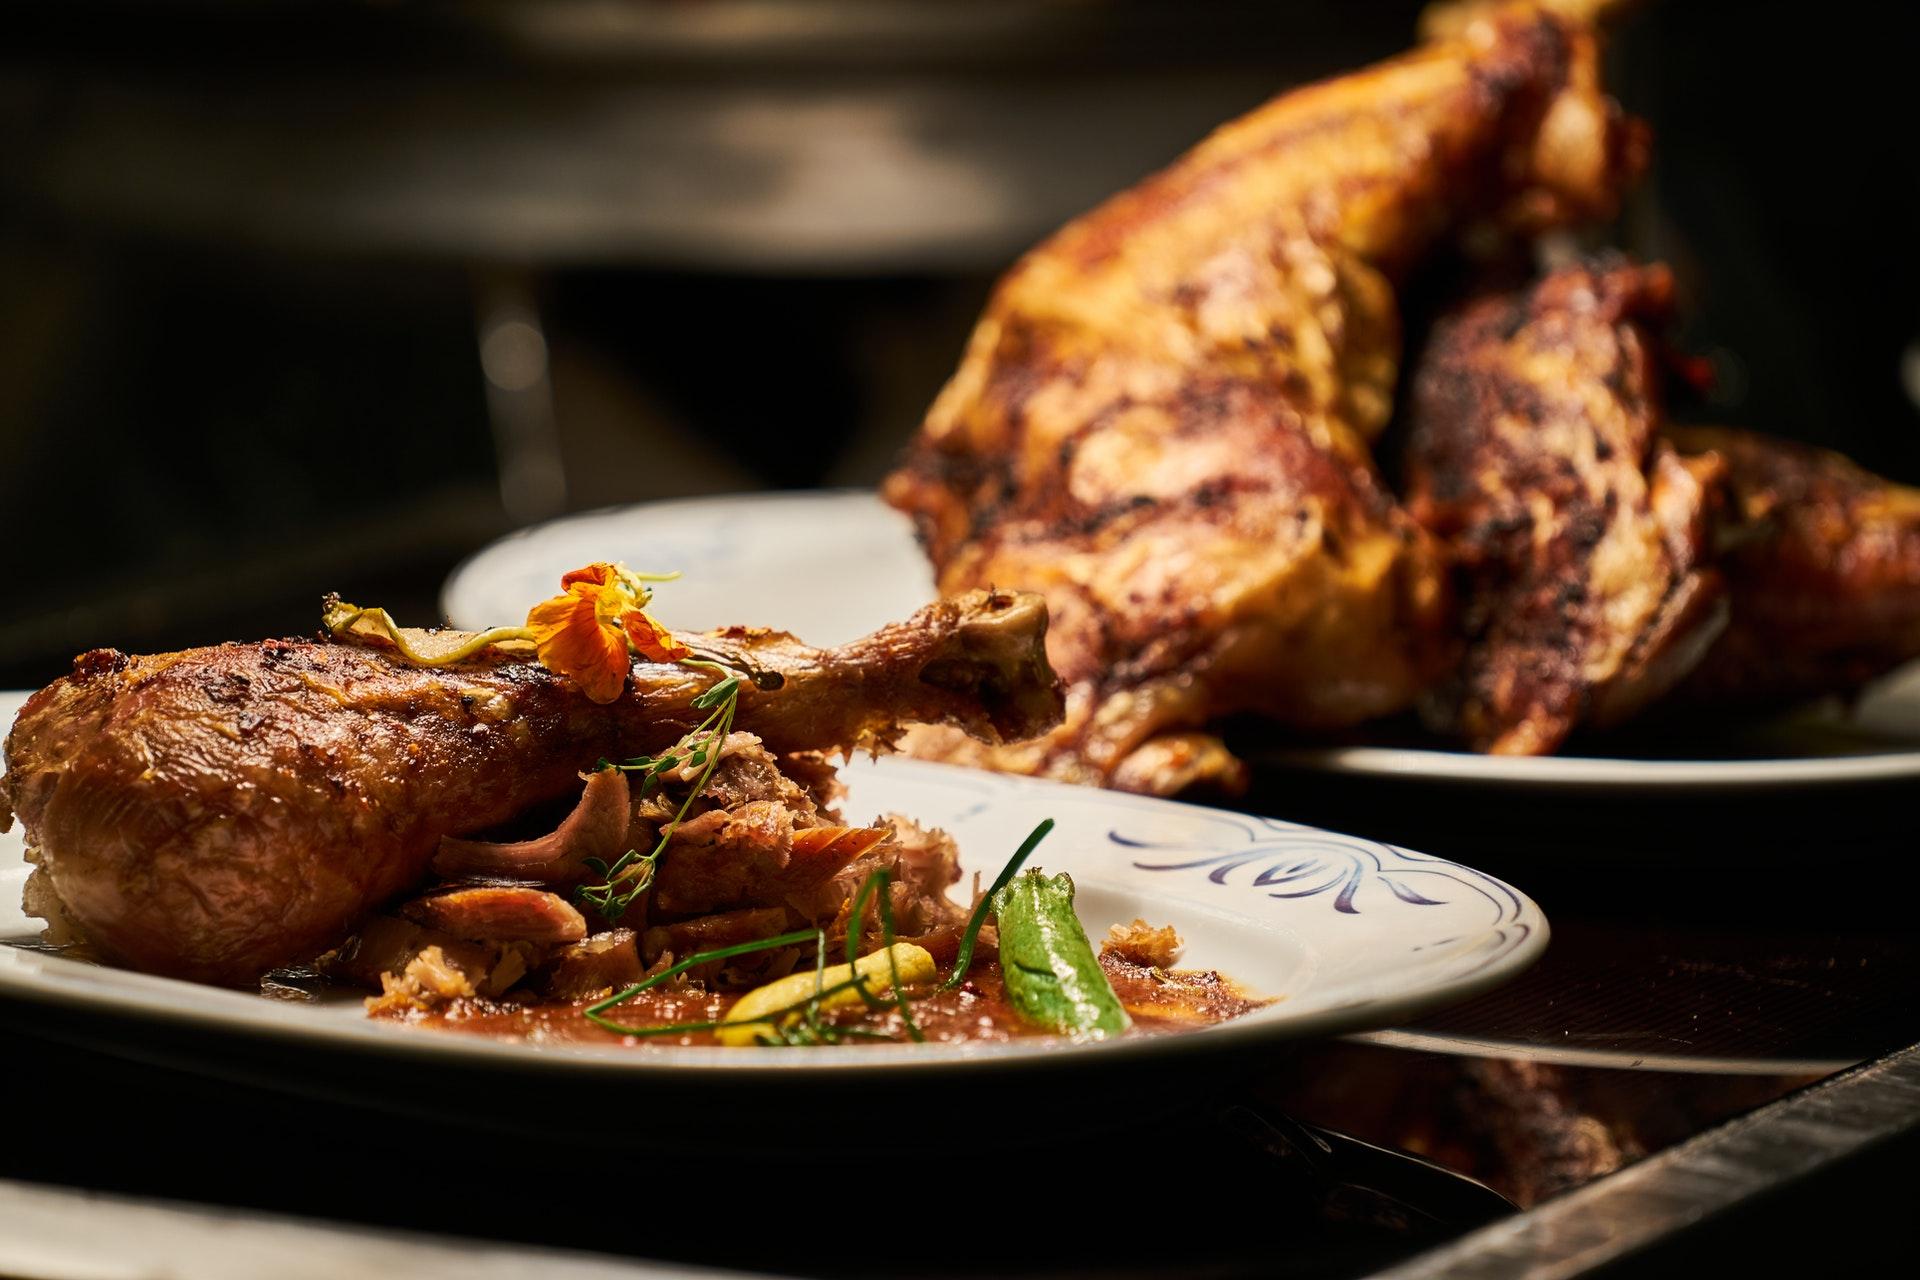
There are multiple ways to make the dish look mouth-watering, and the food stylist should take care of it:
- Spray meat with oil to make it gleam
- Soak fruits in ascorbic acid mixed with water to prevent them from browning
- Spray fruits with a mix of glycerin and water to make the drops stay longer
- Red food coloring easily replaces wine as it is cheaper and looks better in shots.
Backgrounds
It’s not really necessary to be creative with backgrounds. You should opt for a solid color of the backdrop, so it doesn’t draw attention from the dish. Background can be different shades of white, black, or grey. Black or dark backgrounds will make your food photo look more elegant; whereas, lighter backdrops will create a softer look. Grey backgrounds are particularly flattering with bright colors like reds and oranges. A wooden table will also look stunning and make the photos look homey.
Tableware
On the one hand, the tableware shouldn’t distract from the protagonist of the photo – the dish. On the other hand, the plates and utensils should complement the composition. For example, if the food is ramen noodles, a colored bowl will work better than a white china plate and silver utensils because it will look more fitting and culture-appropriate. However, if you are using tableware with patterns or designs, make sure they don’t interfere with the subject of your photo.
Photo Shooting & Editing Tricks
Food photography takes planning and thoughtfulness, so it’s important to learn how to take good food photos before shooting. This part will give you some general tips on how to get satisfactory results, but for more profound knowledge you should consider taking a course on photography.
Make the Most of Natural Lighting
Depending on the time of day, natural light can make food look very appetizing. If it’s a bright sunny day, for instance, place the plate slightly in front of a window to let natural sunlight stream in from behind. This will add color tones to your food while keeping shadows out of sight. Soft ambient light brings out details other types of lighting don’t show as well.
In contrast to natural light, artificial lighting creates shadows and highlights that are hard to control during shooting. You might need a couple of lamps or a professional studio setup depending on how much darkness there is in the room where you shoot. And don’t forget to avoid glare on shiny surfaces like glassware or metalware.
Remove Unwanted Objects
There are many things that can spoil your photos – crumbs, sauce spots, toothpicks that keep the ingredients together, or unwanted reflections. You can deal with them beforehand and prepare the shot to make it look good. If, however, you missed something, you can use photo-editing software, such as Movavi Picverse, to cover the mistakes.
Experiment With Camera Angles
Changing camera angles is a great way to make flat food look more interesting. When the camera looks top-down onto a dish, it shows its proportions and texture. You can also try shooting from below, which makes your dish look bigger and more imposing. For smaller dishes, try placing them on top of books, so you get an overhead shot. Or get down low for something unusual that captures details other camera angles wouldn’t pick up because they lack perspective.
Aim for Natural, Not Perfect
However, food photography has been a controversial issue because of the degree to which these photos can and should be manipulated. For example, a steak can be made to look juicy and tender, but in reality, there may not be any sauce at all or too much sauce that makes the food appear messy. When you edit photos, don’t try to make the dishes look plastic and too good to be true. When the food looks realistic, and the real dish comes up to a client’s expectations, it’s a win-win for both parties.
Final Say
Now that you know how to take and edit food photos, it’s time to start taking pictures. You can experiment with different angles, lighting, backgrounds, and props until you find the perfect combination of these elements. The more effort you put into your photography now will pay off in a big way later when potential customers see professional-looking images instead of blurry or poorly-lit ones.