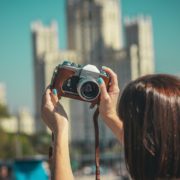
Capture the play of light and space, this is how ‘interio-graphers’ displace.
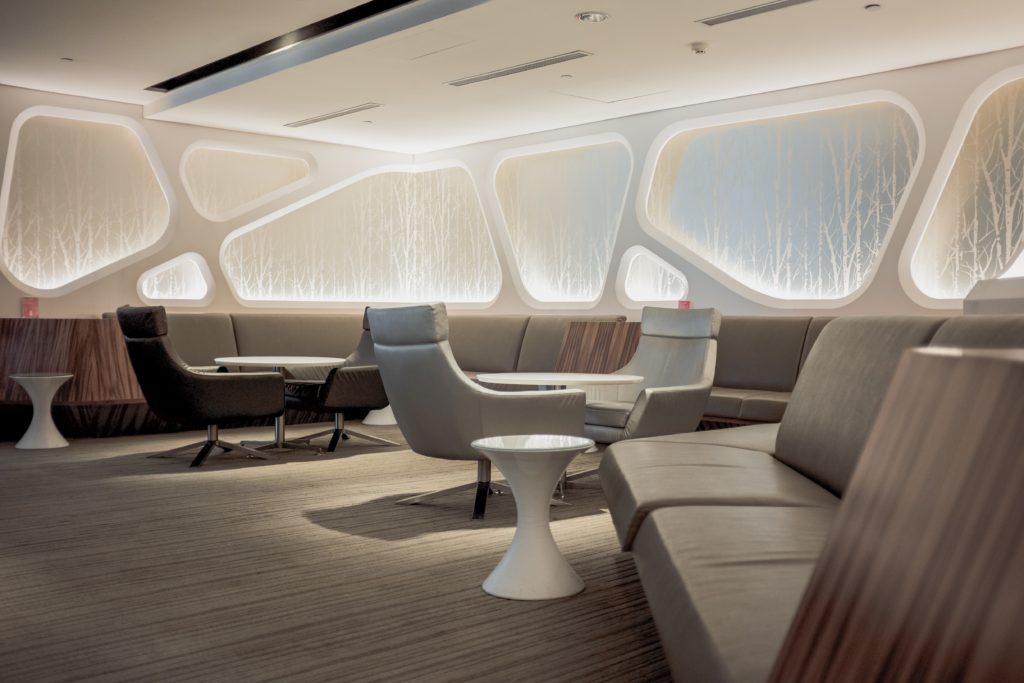
No one said that capturing geometric abstracts that can warm the homemaker’s mind can be easy. Hey, no losing focus on the styling ornate of the stellar interior designs. Cause each element from backdrops to consonant furnishes and textures construct design sentiments.
Before we go pro, make sure you-
– Are not setting up the shoot at a brighter time of the day, preferably within 10 am to 3 pm
– Should carry 24-34 mm lens along with 50 mm one for details
– Get a tripod stand to fix your camera
– Have enabled a tethering system to your camera
– Are Lightroom or photo lab skilled in adding an extra appeal to the design concepts
Give the list a final check and stay calm as we move on to the next steps. Just before you begin, also check out these awesome tips by Stavros Marmaras.
Spot the Reflectors
Turn off the lights and see how we shine.
Here is the thumb rule for budding interior photographers out there – make use of natural light. That’s what the timings are for. Invite the daylight to have a play date with the style decors. This will allow you to capture candid and create an illusion of a natural portrait.
Cross your fingers and expect a cloud cover or a snowy afternoon. Experts say such weather creates wonders for the interior photographs. But don’t let faith decide your fate.
Rather, pick your creative mind and spot reflectors surrounding the spaces. Who knows, you might strike-up that perfect ‘Triangular Reflection’ effect to brighten up your images, naturally.
Bank on Multiple Exposures
Well, if deprived of all-luminary advantages, try this. Mount your camera on a tripod, set the timer, slow down the shutter speed and there. This will allow the camera to pick shadow areas, middle tones, and highlights under a broader light source. In photography concepts, this technique is known as image layering. Image layering can be performed with most of the modern cameras, you should checkout this guide to know what camera should you buy.
All hail to HDR In Lightroom where you finally get to blend the tones. Layout all the captures in one window to set a dynamic range and keep adjusting. Trim-off the overexposed patches or turn-off the mid-tones and calibrate every possibility until you are satisfied. And please put a ban on flashlights, avoid unwanted twinkles and blurs to appear on the takes.
What would be your comfort take as a professional? Share a project proposal with your peers on how you are improving your services as an interior photographer.
What’s your F-Stop?
Obsessing on the width and height of your aperture is a necessity.
Catalog images for real estate agencies Vs clicking for interior designers have differences. Hence, it’s not always the wide-angle views that do not work out every time. Rather, focusing on that decorative center or sleek island adds to the design aesthetics of the image environment. Be it close up shoot of the chandelier drops or corridor shoot for Turkish curtained lobbies, the photographer needs to know their F-stop.
Taking a closer look demands a tighter aperture hole and smaller give a wider view. Minding the designs is your mother feature for each takes, make sure that to opt for the sharpest resolution. Ranking up the F-spots will chisel the decors in the space and will work in terms of your advantage. In case you are struggling with the camera exposure setting, this Cheat Sheet from London Institute of Photography will help you to establish the right combination of Aperture, Shutter Speed and ISO every single time.
Keep it RAW
Today, negatives are your new positives.
The concept can be a bit overwhelming but we are to present only advantages. What if you had the full-control to overcome all shortcomings in illumination and exposure? This is where RAW filming boxes the ultimate tool of the era. The RAW option of your camera captures the unprocessed negative where the picture is yet to be converted into pixels.
It’s high time to take a leap from love for JEPGs to untouched RAW files. Because RAW files store more background information, can recover the blazed areas and allow white balance adjustment. If you are up for cropping styling details, a RAW file backup is a savior from pixel breaks and in defining the sharpness of the display. Make sure you are backing up your Raw files. But do not panic in case of a hard drive crash as there are many recovery software, you can check out this post on EaseUS for the best data recovery software to help you out. Take a web tour of the RAW edit tools and software available for richer photography experience.
Wait up! Are you completely acing the interior designing photographs with our pro tips? Why not promote them on social media and get viewed in real-time.
Staging
Tailor your intentions in advance.
Never regret your takes after the shoot. Always define the concept that you want to highlight and push away the clutter. Focus on the elements in the interior designs which would be frame-worthy. But How? Welcome to the concept of transforming ‘Venns’ to views.
If you find the furnishes are blocking the light source or casting shadows on the element you want to feature, then rearrange. Remove that dish wash gel and scrubs from the counter and that cloth that is hanging lazily above the sofa. Instead plant delights like small succulent pots, books, cushions, and a color twinning are always welcome.
Get more professional if you want to! Boot up, bent low, run-around, strain your back a bit, and adjust till you stage the picture-perfect frame.
This guide from Modo Bath will outline the most effective monochromatic color schemes to redesign bathrooms.
Engage Your Clients

Always remember this competitive servicer, what the client wants – concepts that sell.
If you are successful in capturing the creative vibe, then Voila! You are a stunner. Therefore, always keep your client posted on what you are up to. As mentioned before, integrating tethering devices with your camera allow a live update to your clients via laptop or tablets.
So, each time you are juggling thoughts on not-knowing how to stage the objects. Ask them on the spot. This will save you a ton of time in selecting the pictures before editing.
On the other hand, it will build trust in serving the clients on your service transparency.
Who knows, the hot-shot industrialist you are working with tweets about your services. The influential outreach is the key aspect to grow your services. Get some professional advice on- the art of using images on twitter and become an off-site celebrity in no time.
If you enjoyed the article above, you may find the following resource worth reading:
The Beginner’s Guide to Real Estate Photography by Tellus Talk.